sTeeve said:
Hi, new here, and recent owner of a used Spark.
I know this is an old thread, but I am trying to install a Homelink, and given your Facebook installation link appear to no longer be valid, I have the following questions.
My Spark sleeps outside, so I need the Homelink to only be powered when the car is switched ON, so
I need a 12 V Switched power source.
Was your install based on a switched 12 volt power source, or a permanent one?
In the head console, the Light is on a permanent 12 Volt so no good.
The OnStar Harness only has a 10V Switched, Question:
Would the Homelink work on 10V ?
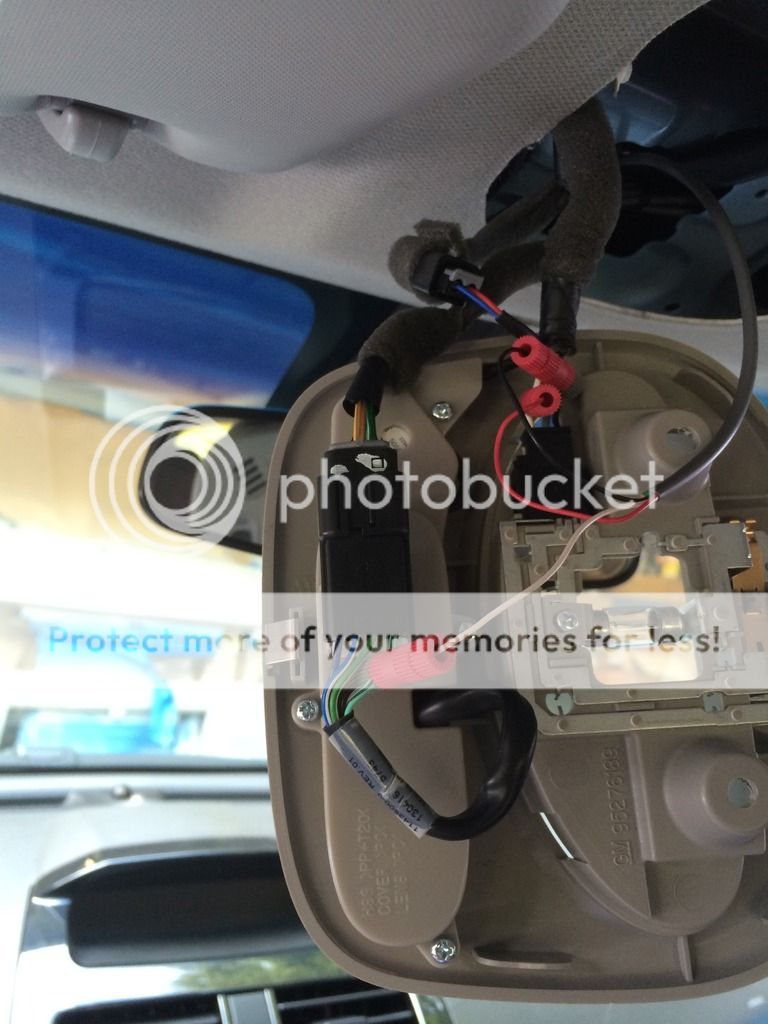
There is a harness going to the block behind the mirror, but I have not tried to pry that open to access the harness connector to measure (Has anyone done that, is it an easy task?)
Any information or advice on where to place the Homelink to have easy access to a 12 volt switched power source is welcome.
Thanks again


")